Queensland mountain summits: 14 tips every hiker should know before they go
- Issued
- 28 October 2026
- Regions
The summit photo is the easy part. It's the climb, navigation and technical skills that catch people out.
Social media, fitness and hiking apps are full of breathtaking views, personal bests and triumphant finishes. What they rarely show is the rock scrambling, route-finding, wrong turns, unexpected conditions or the climb back down—and even if they did, expectation versus reality are two very different things.
Follow these tips to help you hike smarter, prepare better and make good decisions when it matters most.
 Open larger image
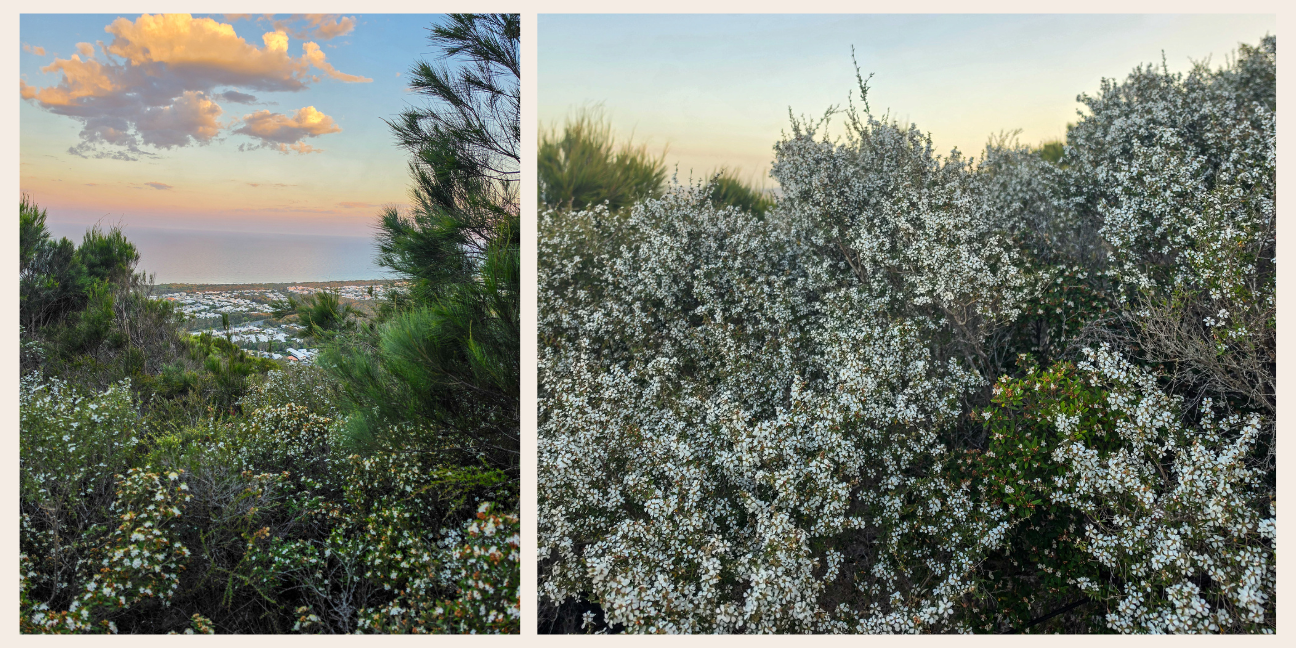
Mount Coolum summit walk is a Grade 4 track.
Photo credit: (c) M.Dyball
1. Don't trust the 10-second highlight reel
Social media is great for inspiration, but it's not so great for trip planning, safety and logistics.
Before you commit to a journey, research it properly by cross-checking what you've seen on social media with the Queensland Parks and Wildlife Service’ Parks and Forests website.
You'll find information on:
- Walking track grades
- Mountain safety for summit routes
- Park alerts
- Distance and estimated duration
- Maps
A successful hike shouldn't leave you exhausted, injured or questioning your life choices. It should leave you thinking, 'I'd love to do that again.'
2. Understand the different walking track grades
Distance tells you very little about difficulty. When planning for a hike, make sure you understand exactly what the journey involves—the walking track grades are your clue as to what the hike will be like.
Track grades are based on the most difficult section of the walk and provide an indication of the skills, fitness and experience level required for the journey. Be aware of the differences and choose your journey accordingly.
3. Know what a summit route involves
An undefined 3km summit route to the top of a mountain is far more challenging than a 10km Grade 2 walk on a well-formed track. Summit routes often involve steep ascents and descents, using your hands and feet to rock-scramble, and in some incidences the use of climbing ropes.
Summit routes may also expose you to navigating hazards like:
- Falling rocks.
- Steep rock faces and slabs.
- Slippery rocks during misty conditions or after rain.
- Strong winds.
- Poor visibility due to cloud coverage or mist.
- Sheer cliffs.
- Extreme cold at high altitudes.
Before attempting a summit route, honestly assess your skills and experience, and read the safety advice provided on the relevant Parks and forests webpage. The information will help you decide whether the journey is right for you and how to prepare accordingly.
 Open larger image
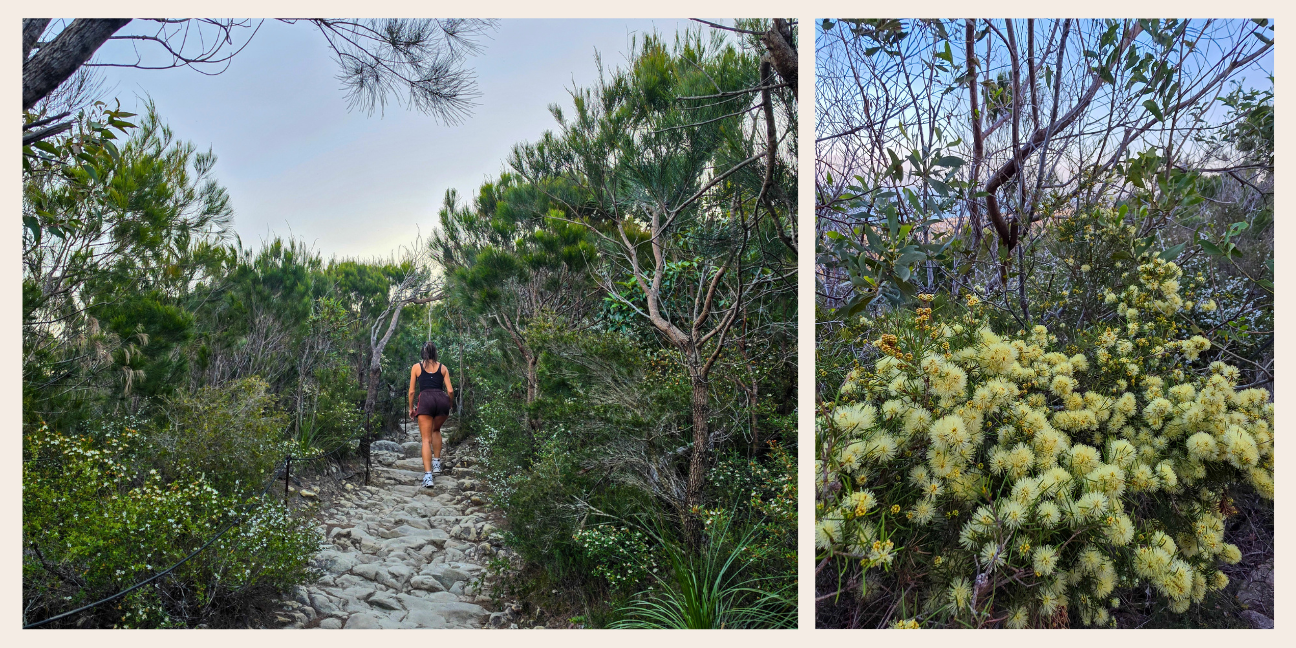
Mount Coolum summit walk is a Grade 4 track.
Photo credit: (c) M.Dyball
4. Follow a Ranger, not a stranger
Not every GPS line leads to a great day outdoors.
GPS journeys shared on hiking and fitness apps are user-generated and may not reflect the safest or best way to reach a mountain summit. What looks like a simple line on a screen can include detours, unofficial routes and off-track sections that increase your risk of becoming lost or entering hazardous terrain.
Before you follow just anyone, check the Parks and forests website to confirm you're following a journey that's been verified by a team of Queensland Parks and Wildlife Service Rangers.
5. Choose a journey that sets you up for success
If you're still learning the basics and building confidence in the wild, look for a graded walking track that offers a little extra guidance.
Choose a journey with:
- Official trail markers
- Established tracks
- A printable map
- Low exposure to cliffs
- No rock scrambling sections
Experience isn't something you pack in your backpack. You build it one hike at a time.
6. Remember, fitness doesn't equal ability
The mountain doesn't care how much you bench press or what your 5km PB time is. Mountain climbing requires plenty of planning, preparation, and technical skills to get you to the top.
To attempt a summit route, you'll need:
- Route knowledge
- Navigation skills
- Rock scrambling or climbing skills
- Good judgement
- Confidence around heights and cliff exposure
- Preparation for high altitude weather changes
- Preparation for worst case scenarios
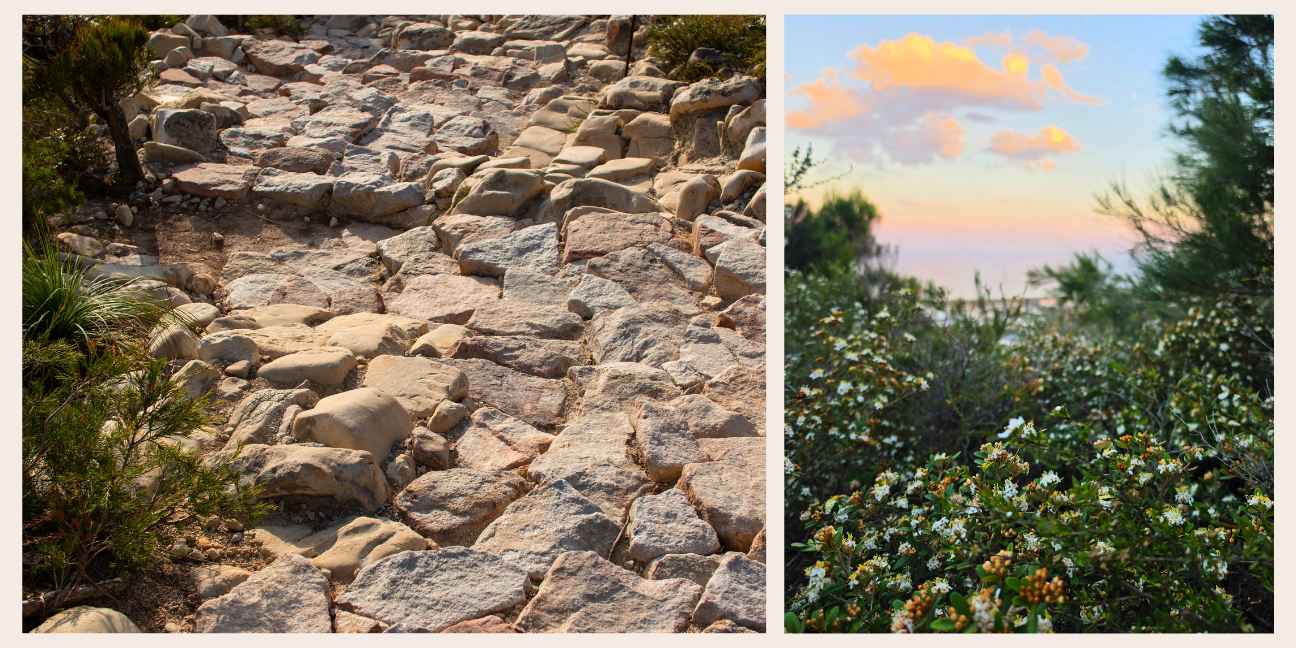 Open larger image
Mount Coolum summit walk is a Grade 4 walking track.
Photo credit: Right image: (c) M.Dyball; Left image (c) Canva
7. Tell someone your plans
It only takes a few minutes but can make a huge difference to how quickly help can find you if something goes wrong.
Before you leave home, make sure you tell someone:
- Where you're going
- Who you're going with
- Your planned route
- When you're expected to return home
Don't leave this until you get to the national park or forest carpark—national parks are remote and have unreliable mobile reception. If there is no mobile coverage on any network, you will not be able to reach the Emergency Call Service via a mobile phone.
If you do have reception at the trailhead or carpark, use the Emergency Plus app to check your precise GPS location and text it to someone you trust before you set off. If an emergency occurs, they'll know exactly where to start looking. The free app also lets you call Triple Zero (000) and helps emergency services pinpoint your location faster.
8. Leave the ego at home
The four most dangerous words in hiking?
'We've come this far.'
Plenty of hikers have faced this moment. The summit is close. You've invested the time and effort. At this point, turning back feels unthinkable.
But then, something changes:
⚠️ You enter cloud coverage and there is a whiteout
⚠️ Someone in the group is struggling
⚠️ You feel unwell or fatigued
⚠️ The weather is deteriorating
⚠️ You're losing daylight
⚠️ The terrain is more difficult than expected
For many people, that's the moment good judgement gives way to determination. But truly experienced hikers recognise the signs of when it's time to turn back—and do it.
9. Hope for the best, pack for the rest
A good day pack won't prevent every problem, but it can turn a difficult situation into a manageable one. Before you leave home, make sure you're well prepared for the worst-case scenario by packing the essentials. 👇
Your day-pack checklist for tackling a mountain summit route:
- A map or offline navigation app
- A compass
- A whistle
- Climbing rope for exposed sections
- A fully charged mobile with the Emergency Plus App downloaded
- A power bank
- A Personal Locator Beacon (PLB) or satellite phone
- A first-aid kit
- A spare thermal for warmth at the summit
- A headtorch or flashlight
- Plenty of water
- High-energy snacks
If you're going off track, are attempting an unofficial and unmarked route, or are undertaking a summit route to reach a mountain summit, all off these packing items are essential to your survival and could be the difference between life and death.
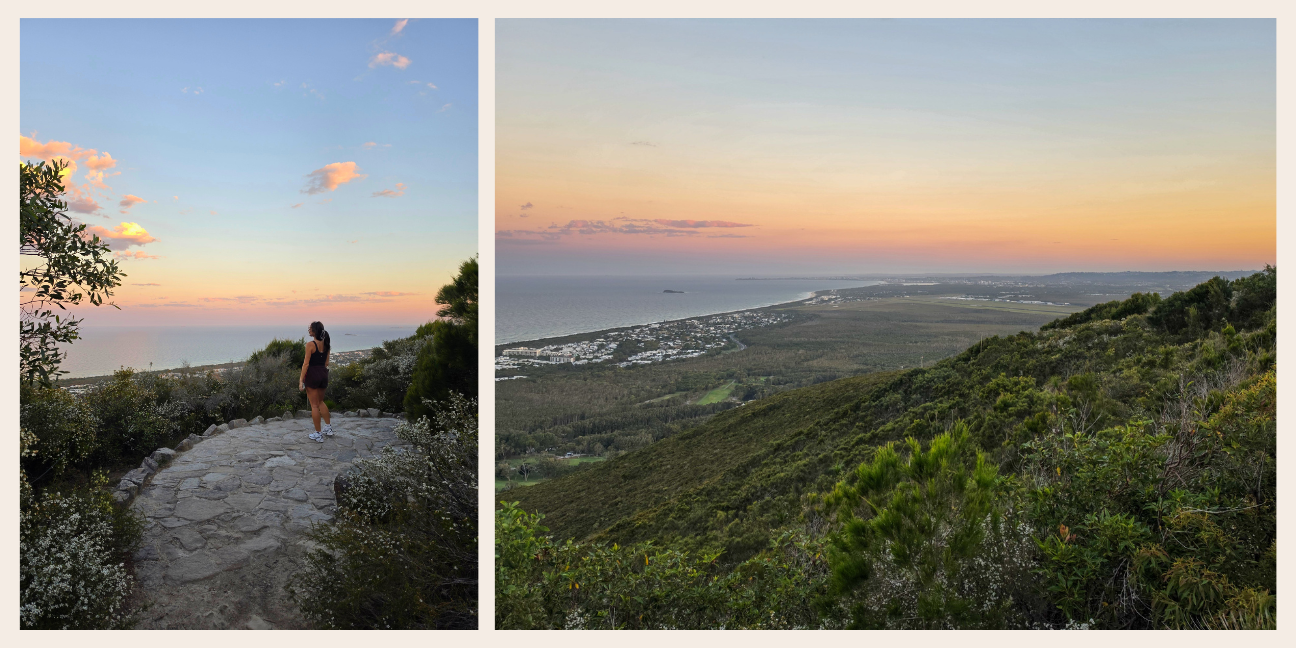 Open larger image
Mount Coolum summit walk is a Grade 4 track.
Photo credit: (c) M.Dyball
10. Start early
Hikes have a habit of taking longer than expected. A wrong turn, a slower pace, a photo stop, a snack break or a tired hiking partner can quickly add hours to your day.
Start early so you have plenty of time to complete your hike before darkness falls. If possible, avoid undertaking your journey during the hottest part of the day and take advantage of cooler conditions in the early mornings.
11. Stay hydrated
Dehydration and heat exhaustion can sneak up on you, especially on steep climbs and warm summer days. Don't wait until you're thirsty to start drinking. By then, you're already playing catch-up.
Carry plenty of water and drink regularly throughout your hike. Also consider electrolyte tablets or hydration solutions on longer or more strenuous hikes.
12. Respect closures
Conditions can change quickly in national parks. A route that was safe and accessible one day can become dangerous after rain, strong winds, storm activity or other events.
If a walking track or summit route is closed, it's for a good reason. Before you leave home, check Park Alerts for the latest information on access, closures and conditions.
13. See the signs, read the signs
You've planned the journey. Packed the essentials. Arrived at the trailhead.
Then there's one last thing many hikers overlook: signs.
Signs aren't put there to ruin your view. They're there because someone has already identified a risk, hazard or condition you need to know about.
If you see a sign in the ground, read it.
14. Don't take risks to take selfies
An Instagram post for a few likes isn't worth risking your life.
If you're stopping for a photo, make the most of an established lookout, walking track or viewing platform. They're often designed with you in mind—showcasing the best views without putting yourself or others at risk.
Stay safe and visit with care—remember, it's about the journey not the destination.
For thousands of years, many mountains have held deep cultural and spiritual significance for First Nations Peoples. Visitors are asked to respect these connections by staying on designated walking tracks and using established lookouts and viewing areas.
Related articles
-
Issued 19 June 2026
To implement planned burns effectively in diverse environments, QPWS uses aerial ignition to reach large or inaccessible areas at optimal times for burning.
-
Image credit Steve Browne © Queensland Government![]() 5 things you didn’t know you could do at David Fleay Wildlife Park
Issued 19 June 2026
Tucked away in the heart of Burleigh Heads, just 15 minutes from Gold Coast Airport, 25 minutes from Surfers Paradise, and a little over an…
-
Issued 17 February 2026
From real-time heat mapping to safer decision-making, this technology is transforming fire management.